Horizon is free for personal projects. Enterprise governance features are available for teams deploying to thousands of users.
The Platform
Horizon is organized into four integrated pillars:- Deploy: Managed hosting with CI/CD, scaling, monitoring, and rollbacks. Push code and get a live, governed endpoint in 60 seconds.
- Registry: A central catalog of MCP servers across your organization—first-party, third-party, and curated remix servers composed from multiple sources.
- Gateway: Role-based access control, authentication, and audit logs. Define what agents can see and do at the tool level.
- Agents: A permissioned chat interface for interacting with any MCP server or curated combination of servers.
Prerequisites
To use Horizon, you’ll need a GitHub account and a GitHub repo containing a FastMCP server. If you don’t have one yet, Horizon can create a starter repo for you during onboarding. Your repo can be public or private, but must include at least a Python file containing a FastMCP server instance. If you have arequirements.txt or pyproject.toml in the repo, Horizon will automatically detect your server’s dependencies and install them. Your file can have an if __name__ == "__main__" block, but it will be ignored by Horizon.
For example, a minimal server file might look like:
Getting Started
There are just three steps to deploying a server to Horizon:Step 1: Select a Repository
Visit horizon.prefect.io and sign in with your GitHub account. Connect your GitHub account to grant Horizon access to your repositories, then select the repo you want to deploy.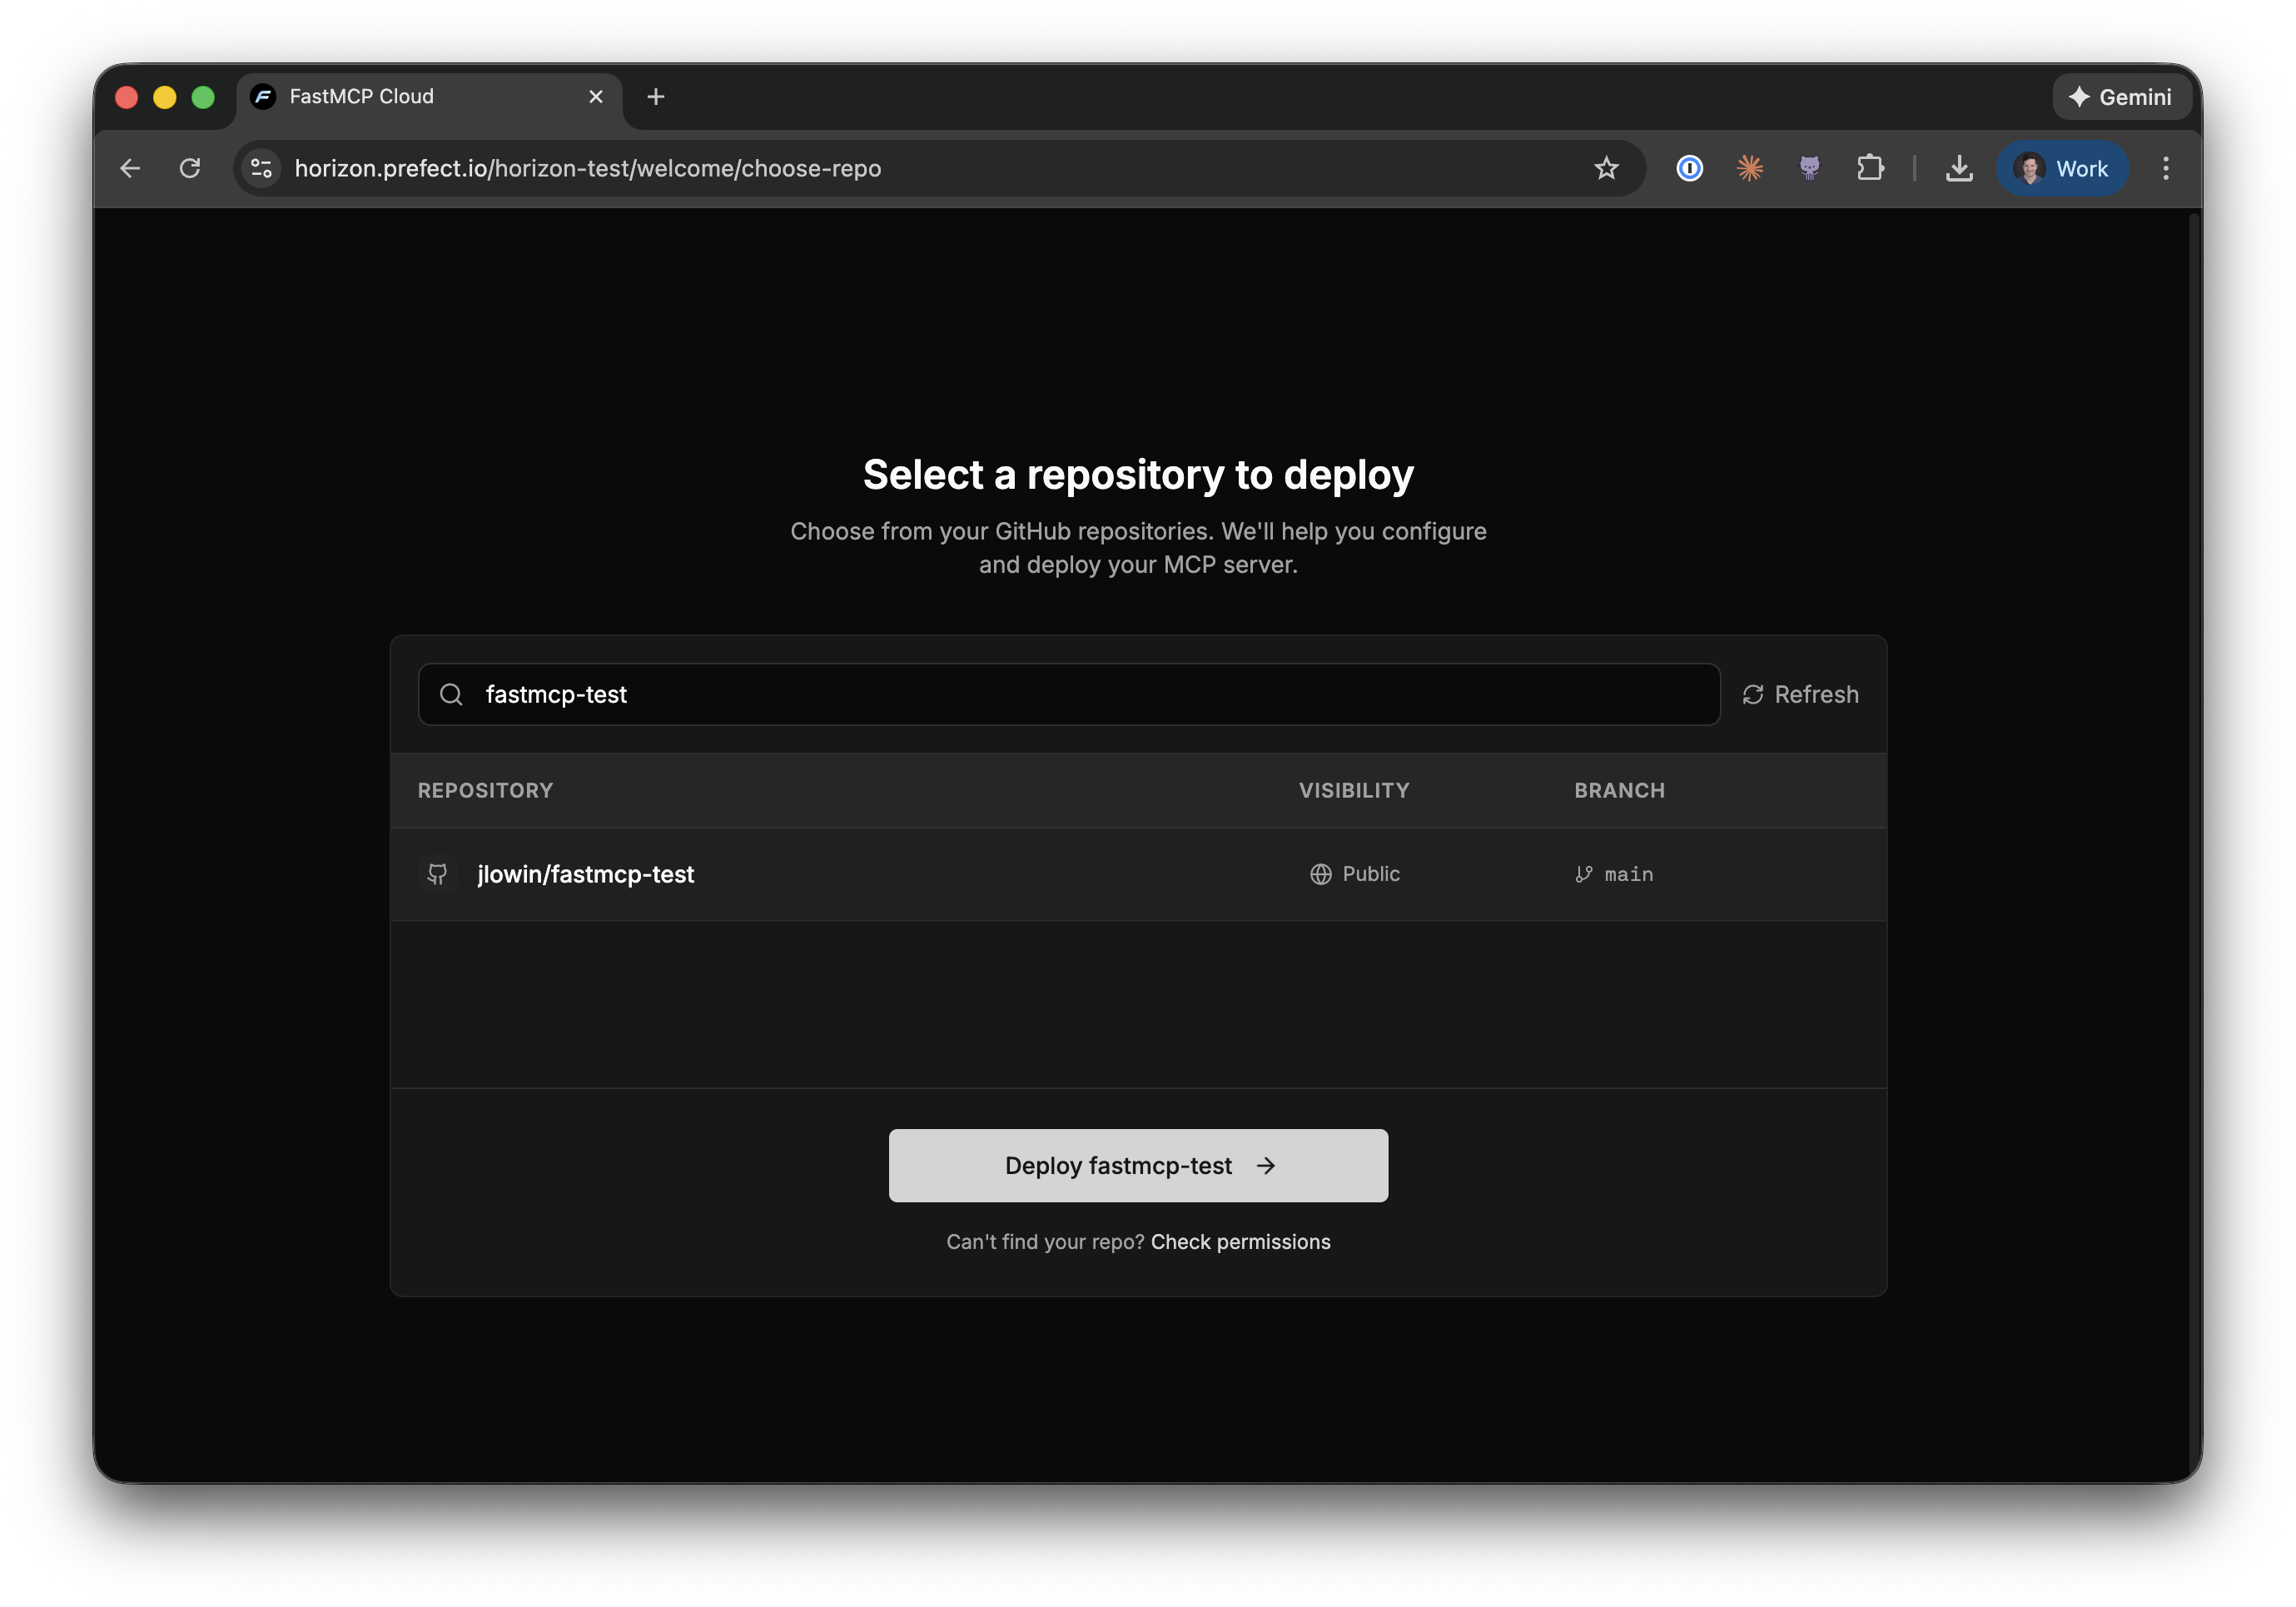
Step 2: Configure Your Server
Next, you’ll configure how Horizon should build and deploy your server.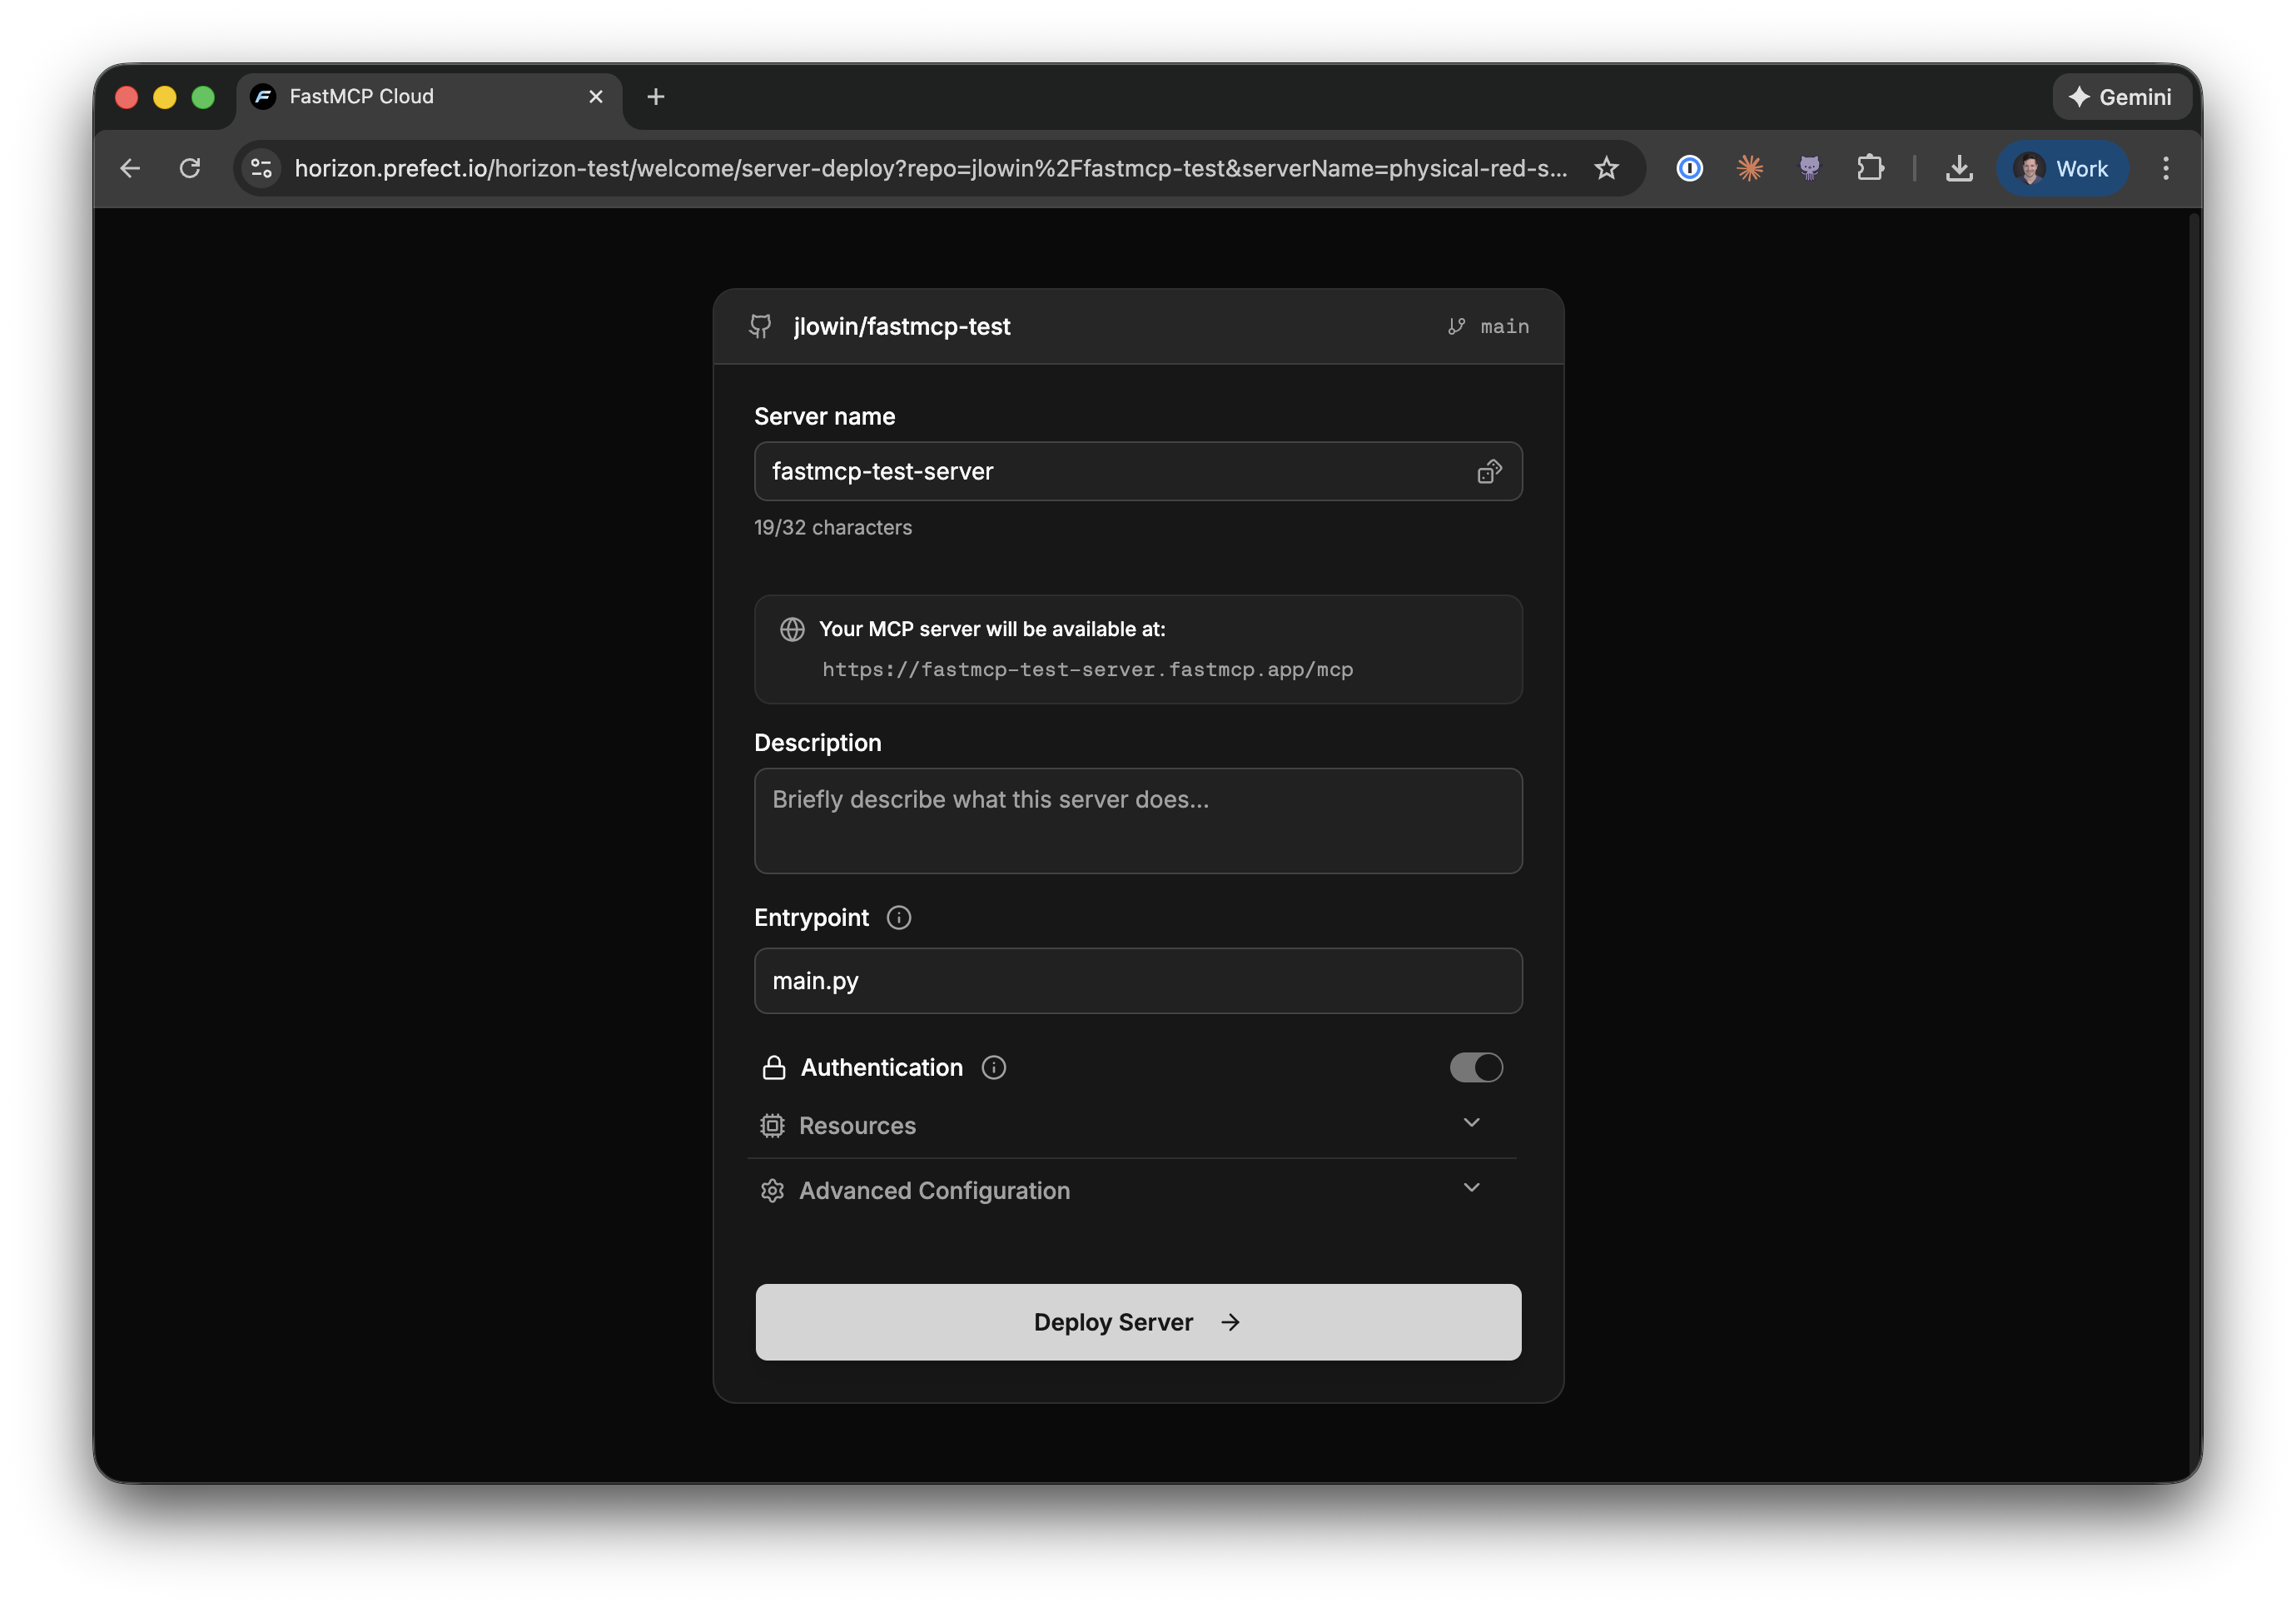
- Server name: A unique name for your server. This determines your server’s URL.
- Description: A brief description of what your server does.
- Entrypoint: The Python file containing your FastMCP server (e.g.,
main.py). This field has the same syntax as thefastmcp runcommand—usemain.py:mcpto specify a specific object in the file. - Authentication: When enabled, only authenticated users in your organization can connect. Horizon handles all the OAuth complexity for you.
requirements.txt or pyproject.toml file.
Step 3: Deploy and Connect
Click Deploy Server and Horizon will clone your repository, build your server, and deploy it to a unique URL—typically in under 60 seconds.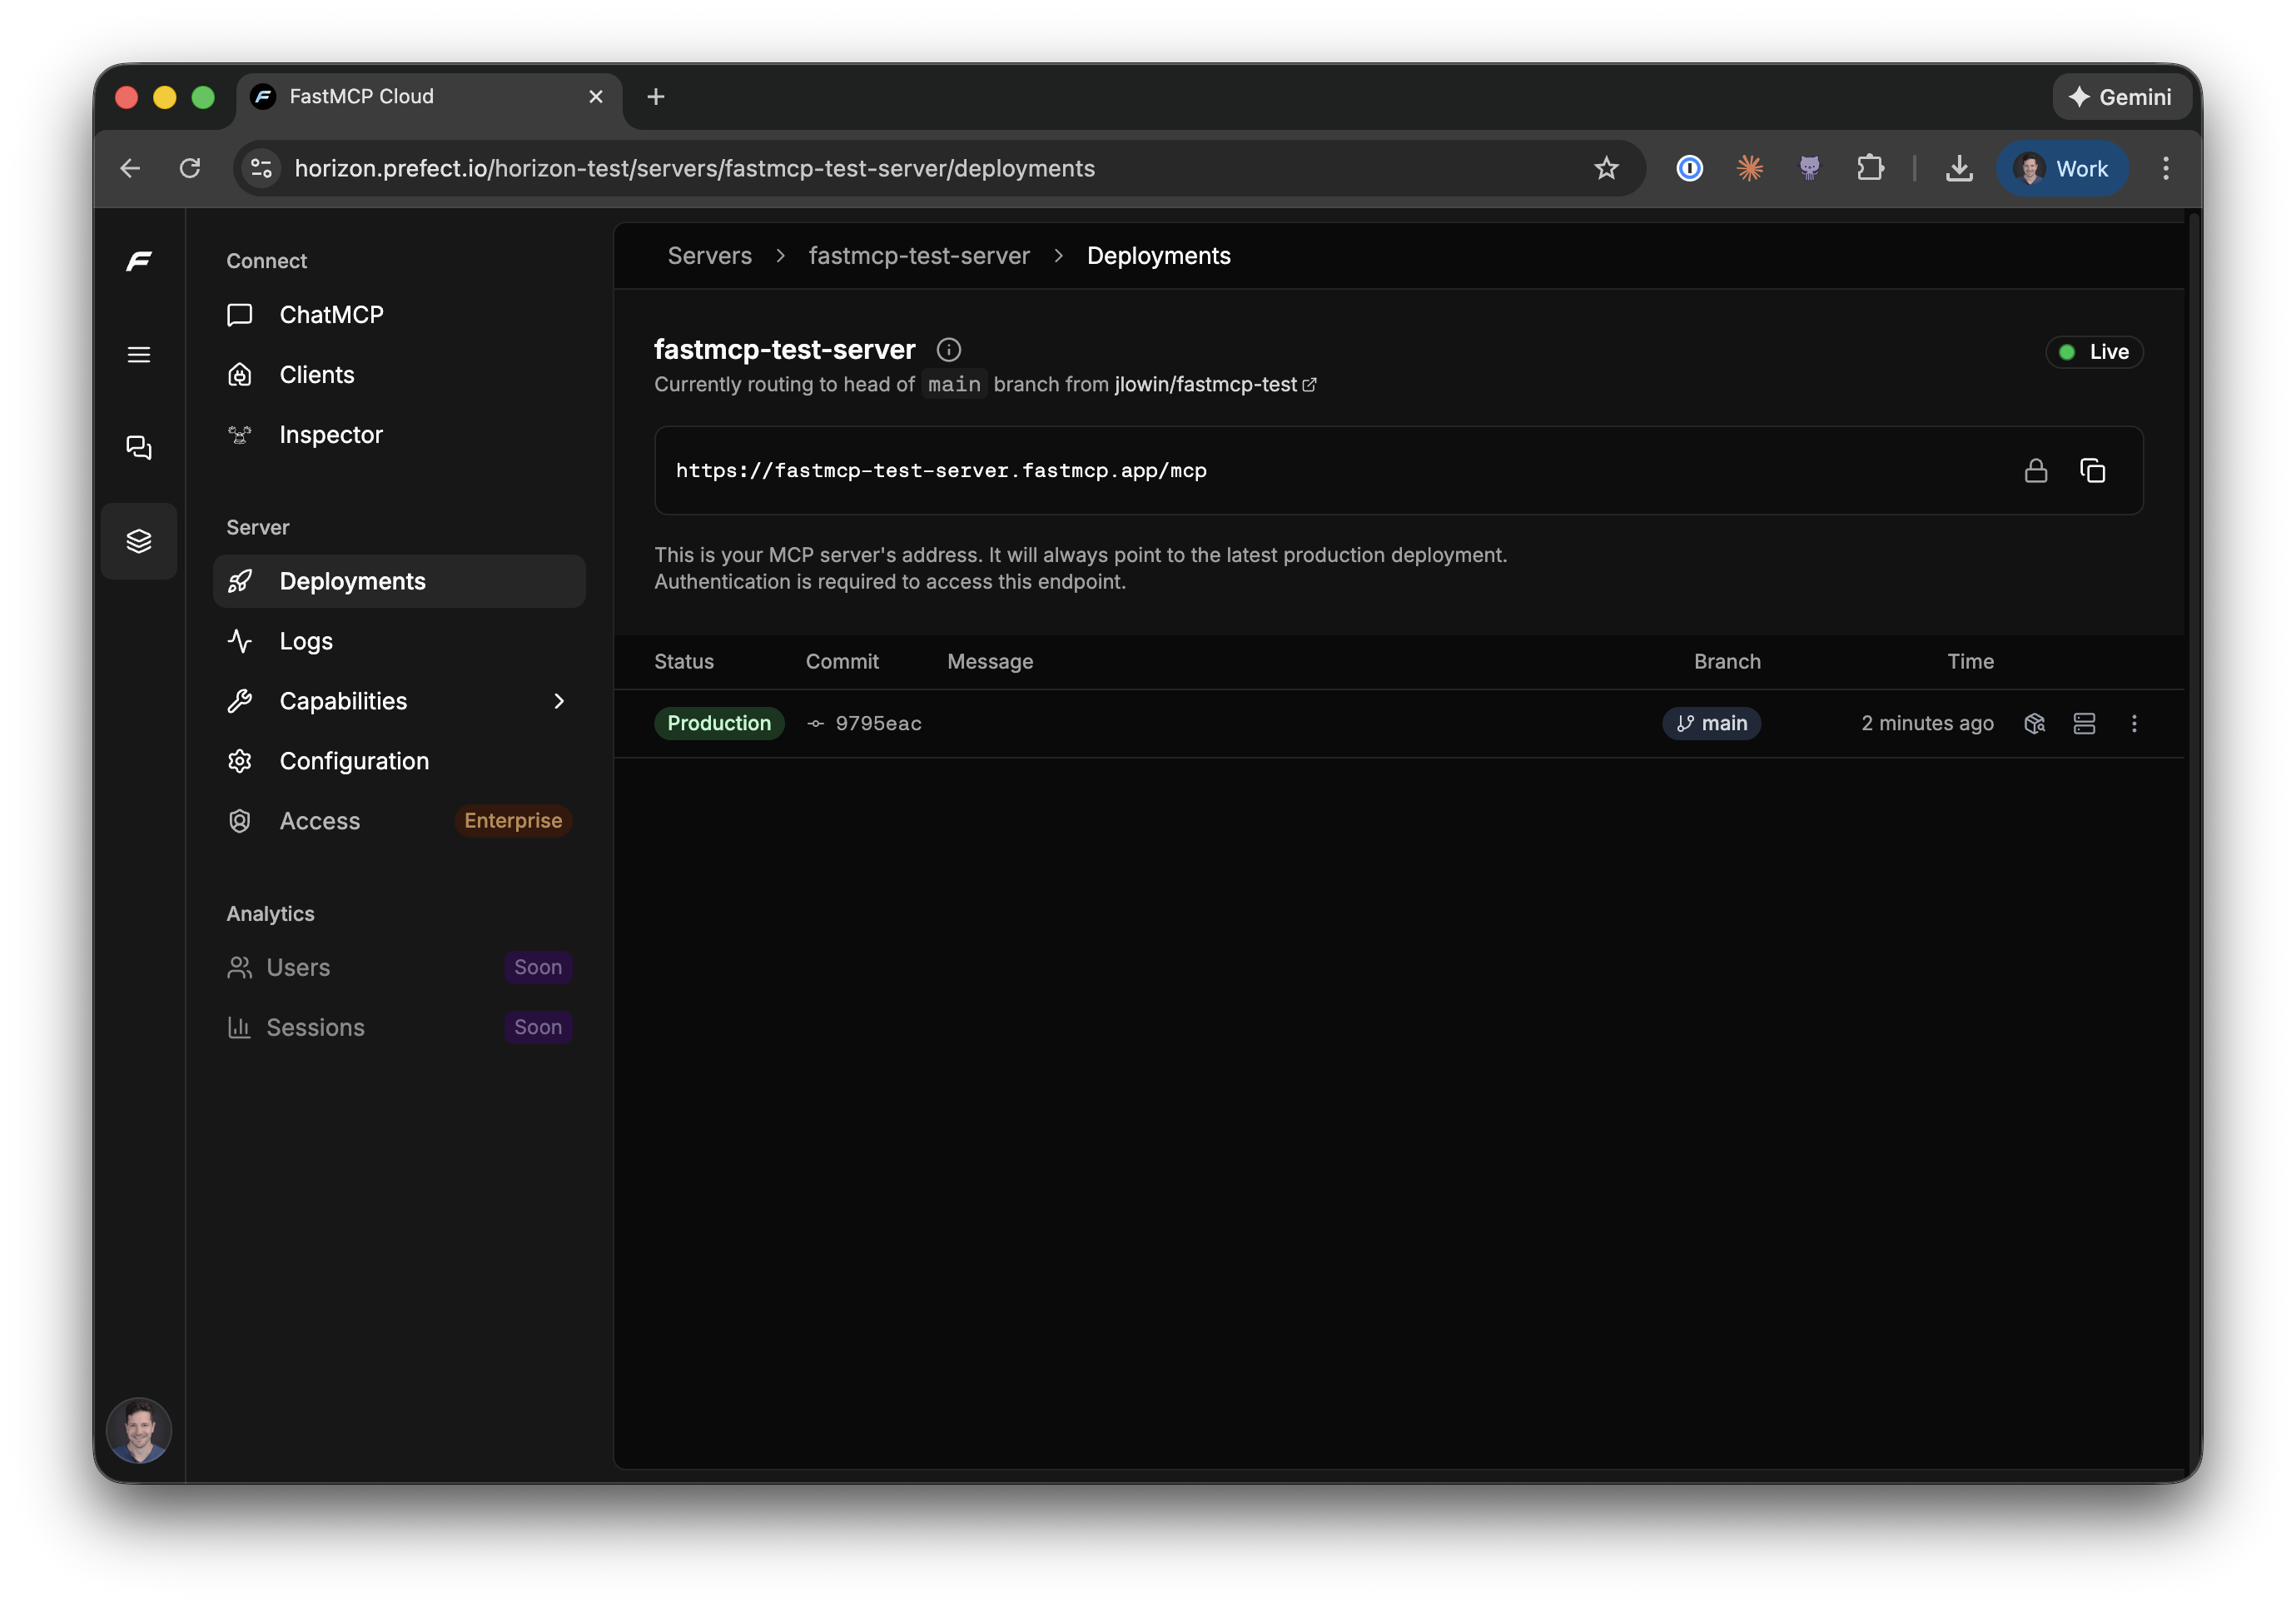
main. It also builds preview deployments for every PR, so you can test changes before they go live.
Testing Your Server
Horizon provides two ways to verify your server is working before connecting external clients.Inspector
The Inspector gives you a structured view of everything your server exposes—tools, resources, and prompts. You can click any tool, fill in the inputs, execute it, and see the output. This is useful for systematically validating each capability and debugging specific behaviors.ChatMCP
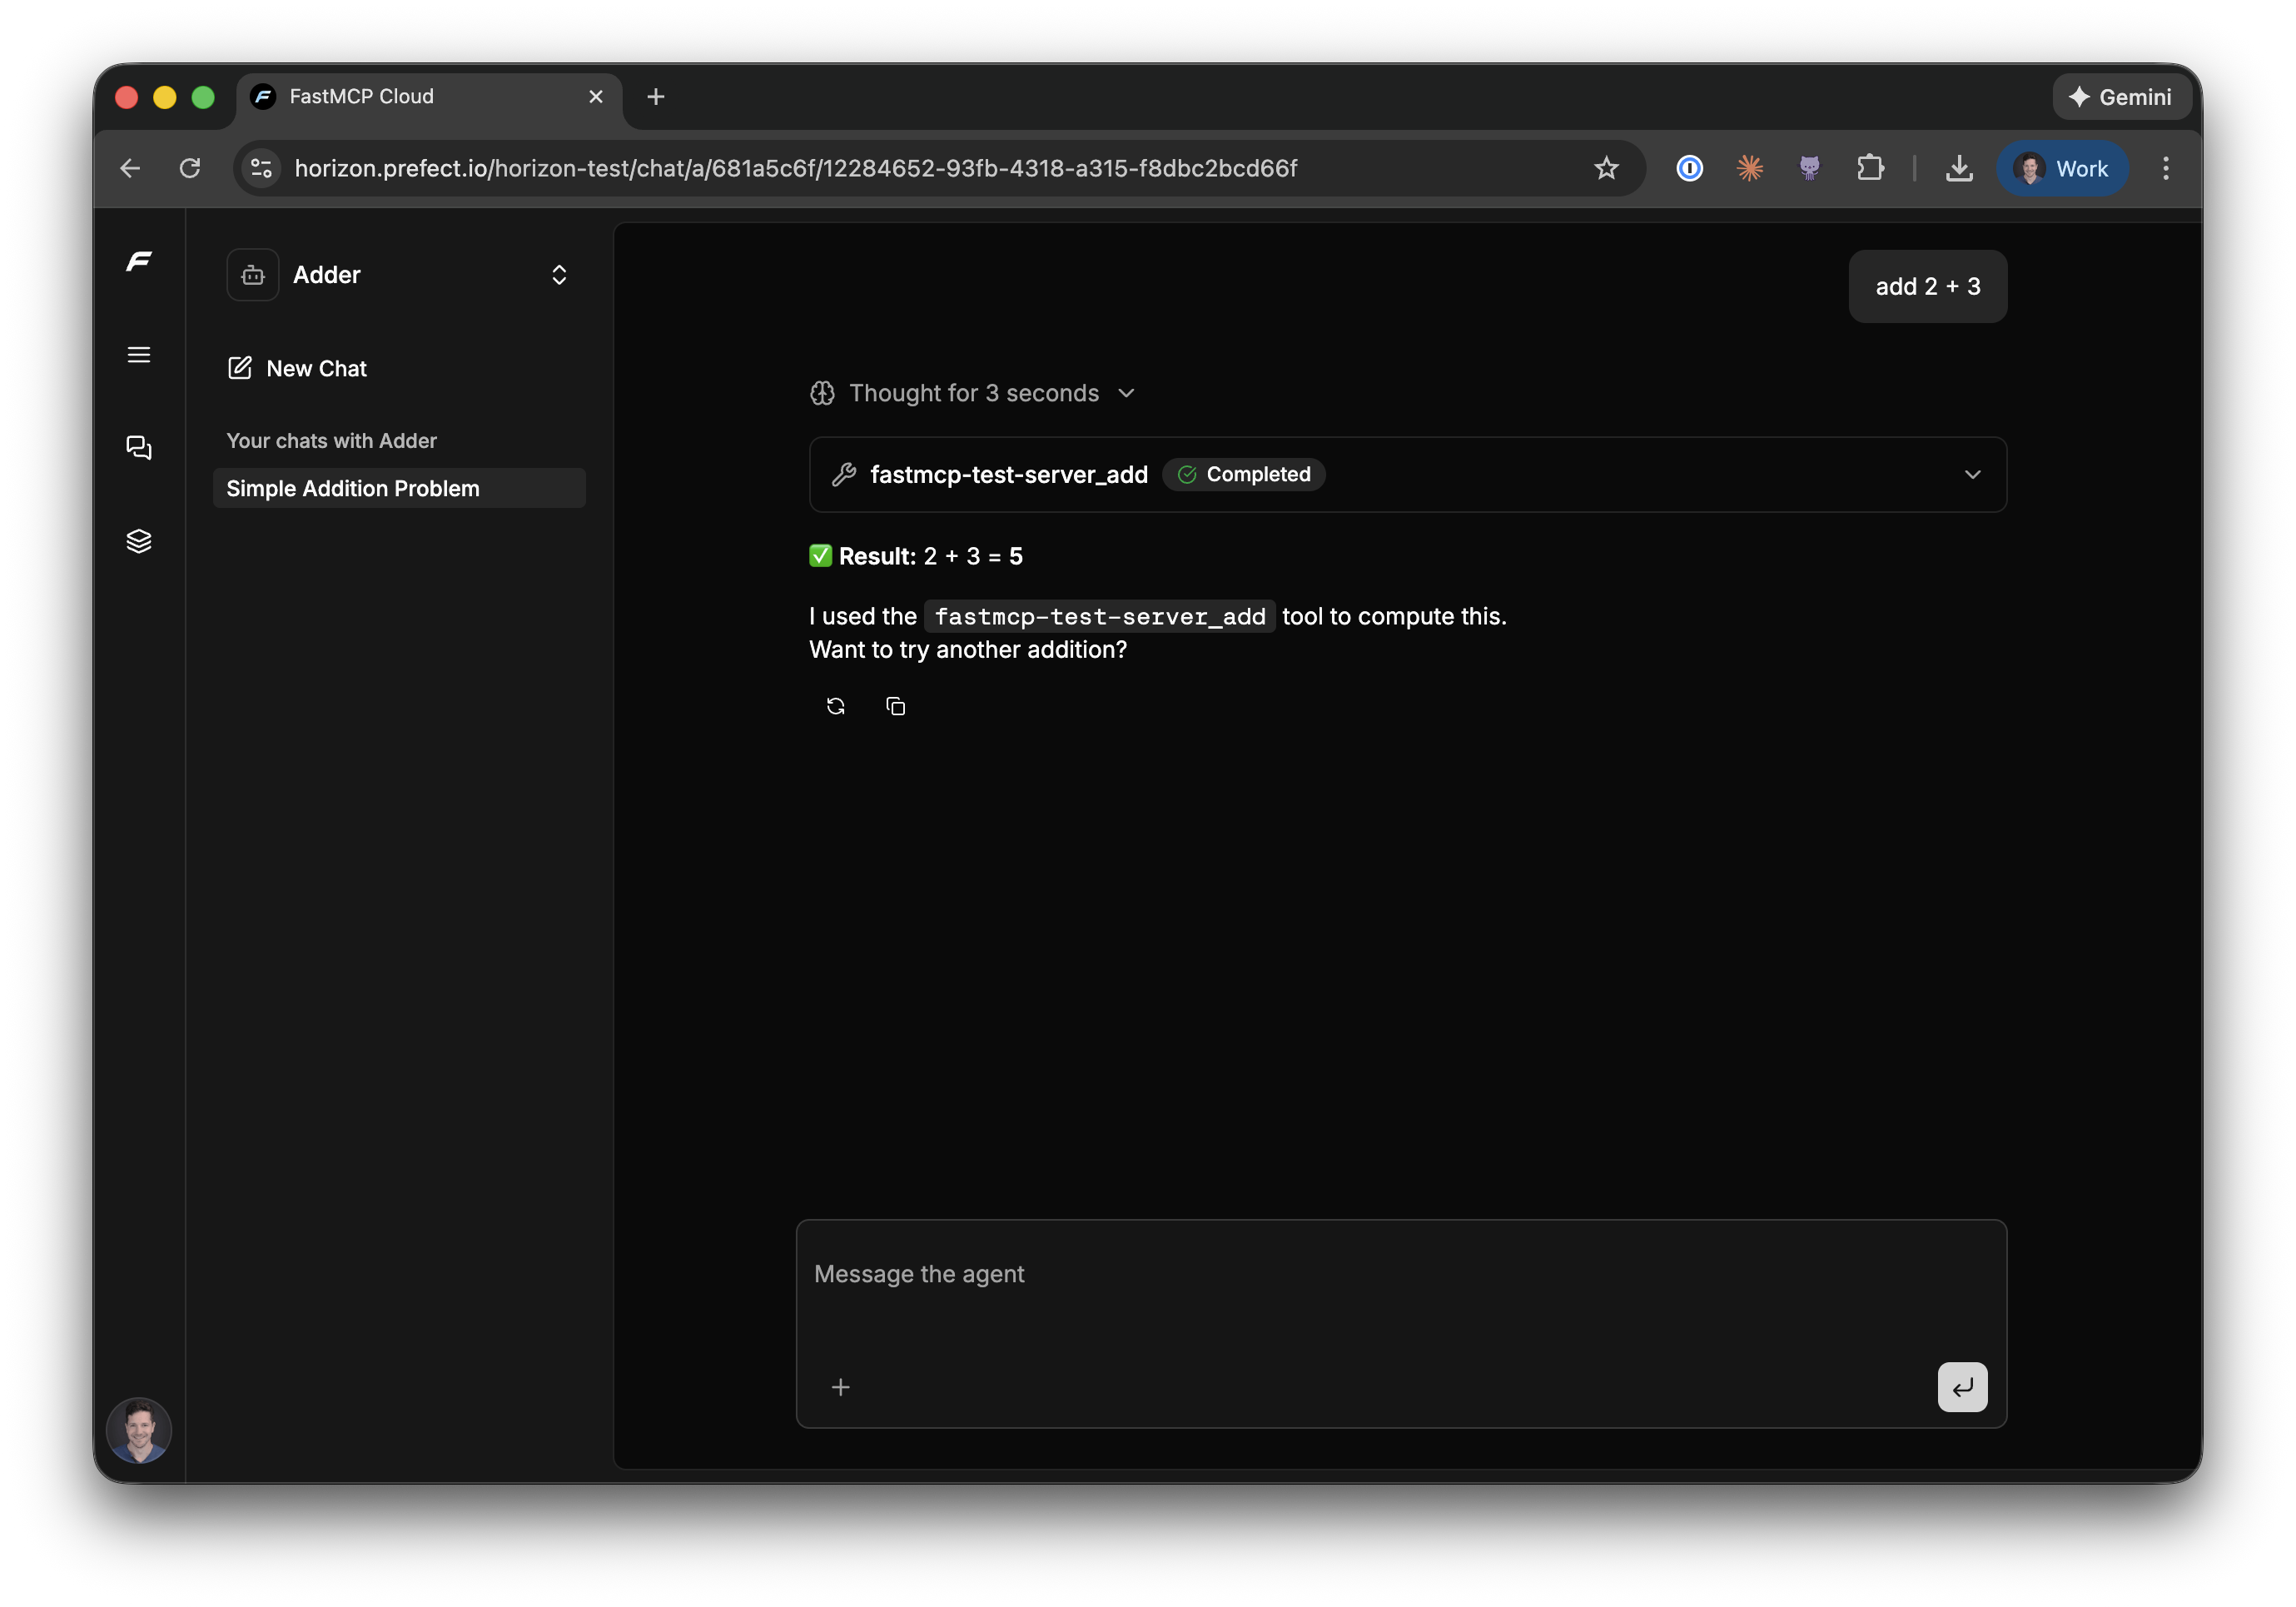
For quick end-to-end testing, ChatMCP lets you interact with your server conversationally. It uses a fast model optimized for rapid iteration—you can verify the server works, test tool calls in context, and confirm the overall behavior before sharing it with others.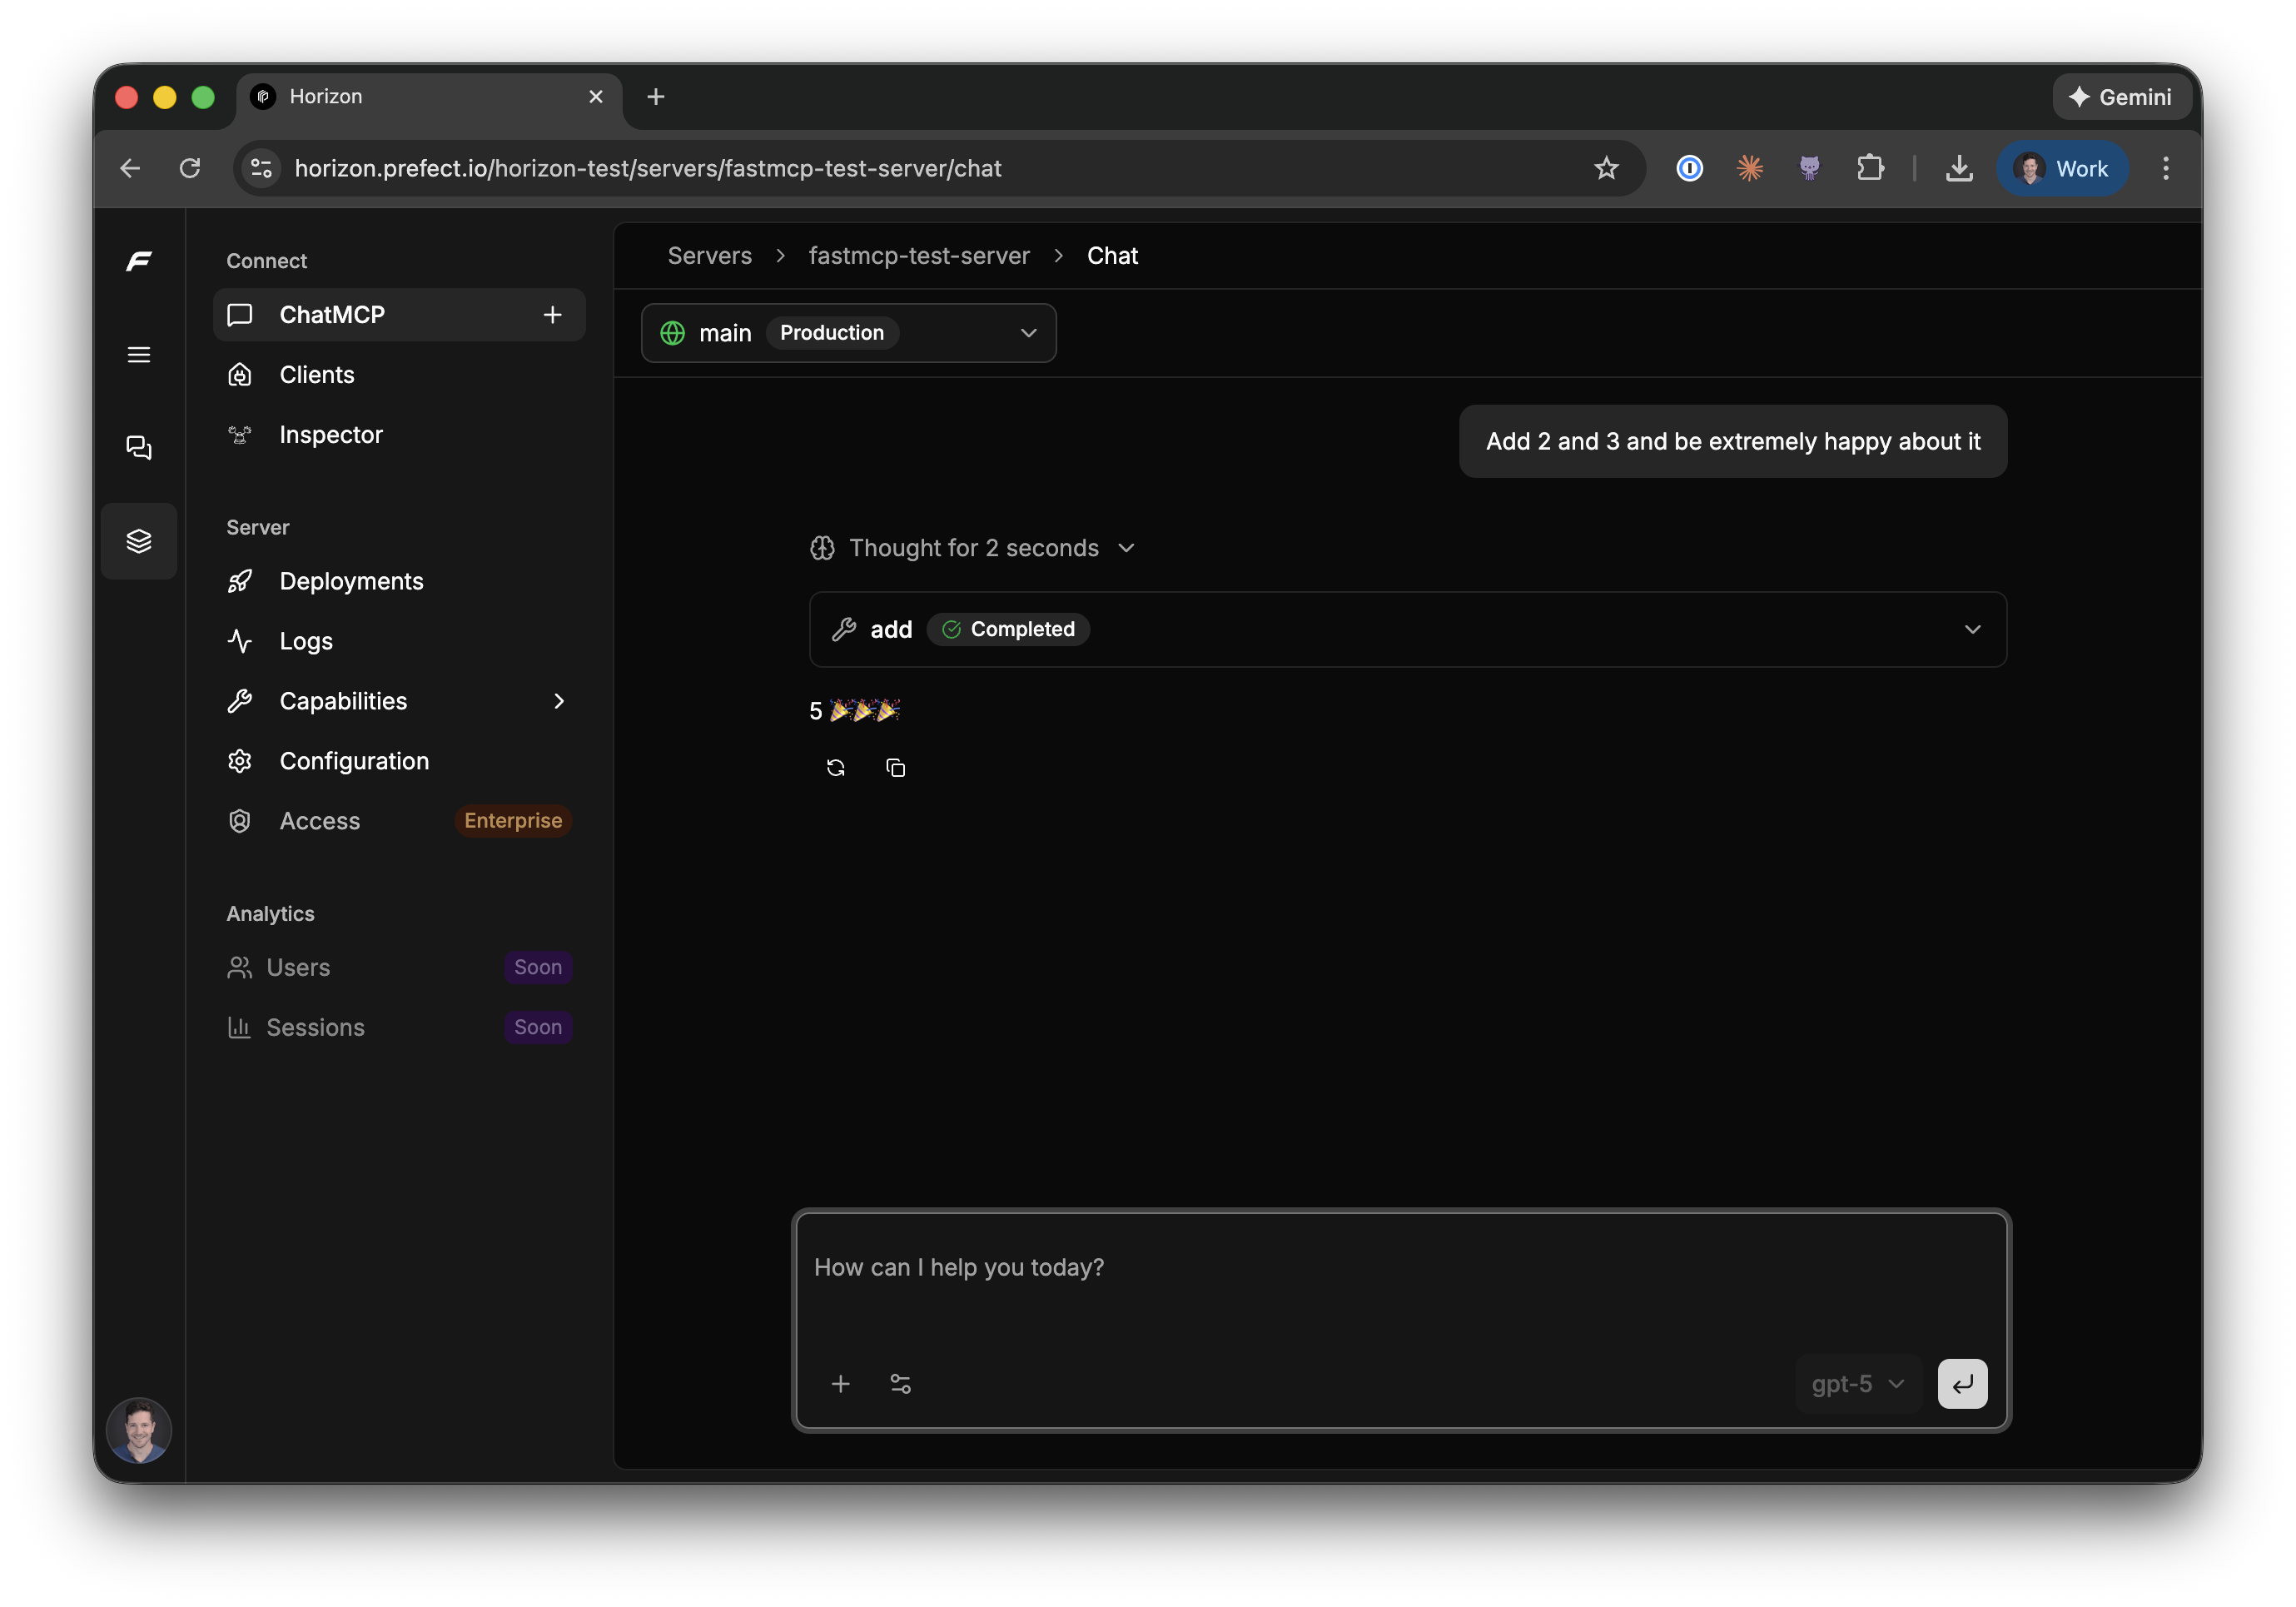
Horizon Agents
Beyond testing individual servers, Horizon lets you create Agents—chat interfaces backed by one or more MCP servers. While ChatMCP tests a single server, Agents let you compose capabilities from multiple servers into a unified experience.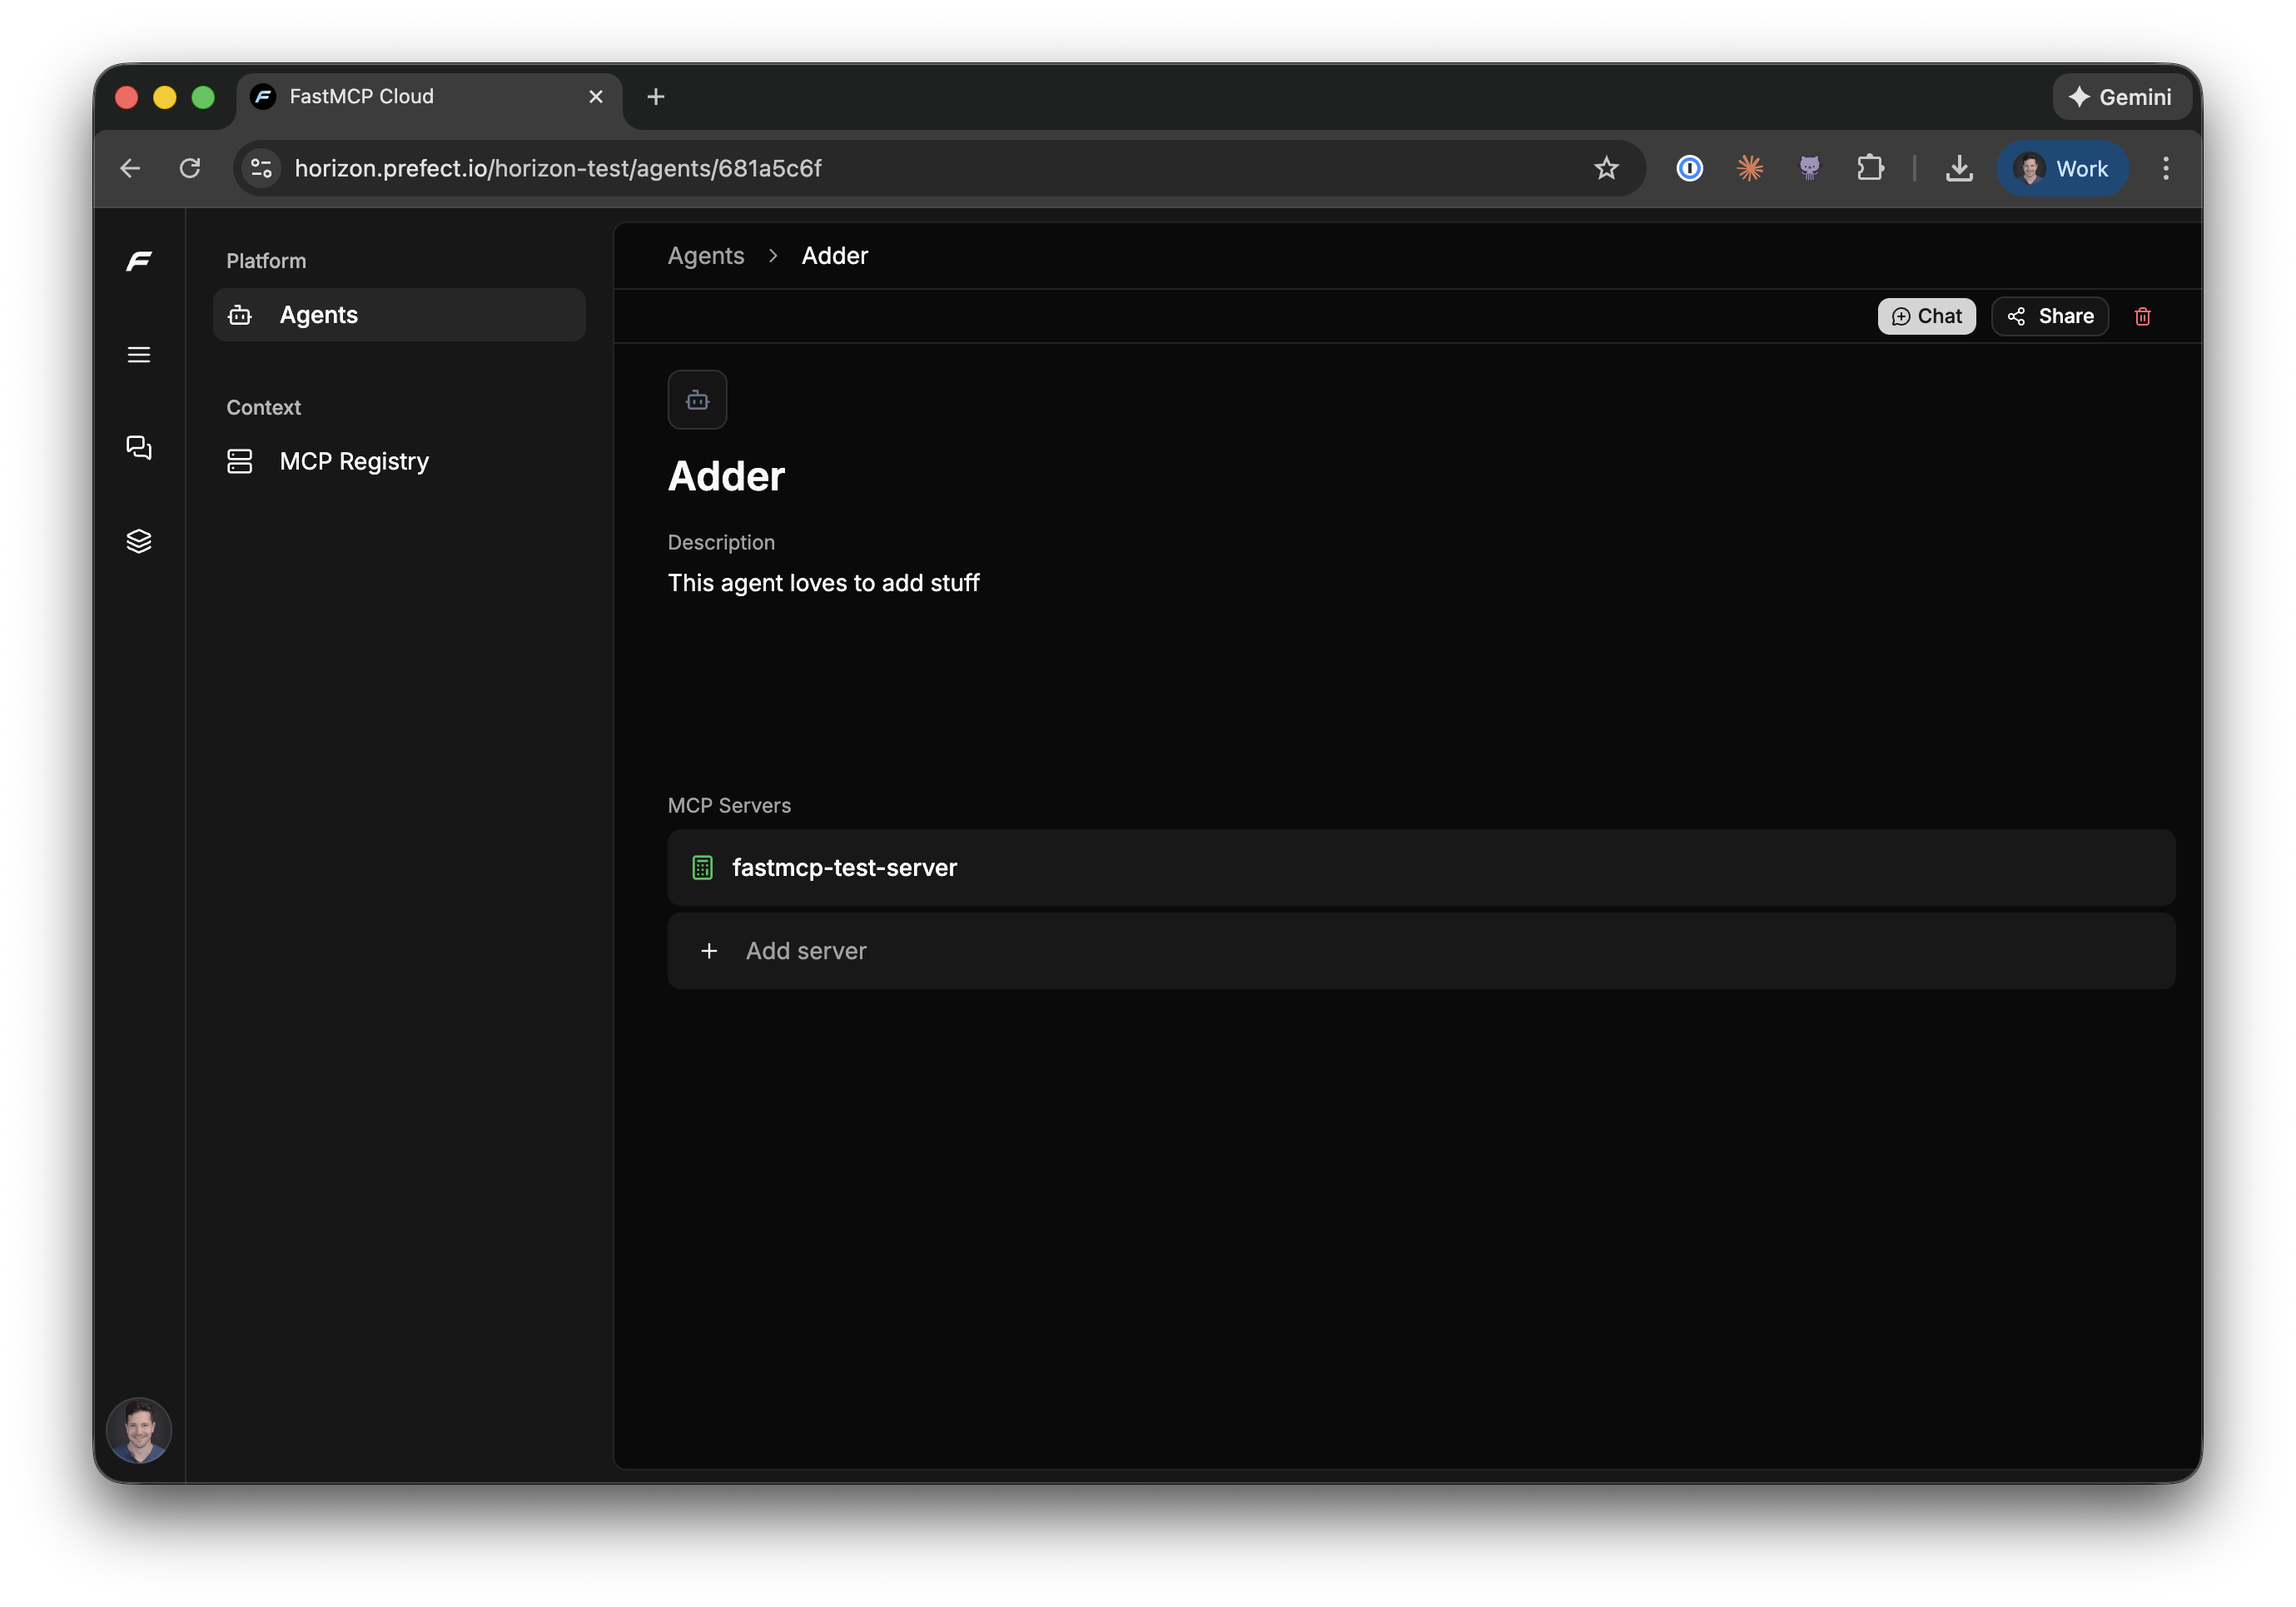
- Navigate to Agents in the sidebar
- Click Create Agent and give it a name and description
- Add MCP servers to the agent—these can be servers you’ve deployed to Horizon or external servers in the registry